Crafting Perfect Paneer: Best Milk & Acid for Soft, Firm Cubes
Paneer, the beloved fresh, non-melting Indian cheese, holds a special place in South Asian cuisine. From rich curries like Palak Paneer to crispy appetizers like Paneer Pakora, its mild flavor and unique texture make it incredibly versatile. While readily available in many stores, there's a unique satisfaction and superior quality to making paneer at home. Not only is it surprisingly simple, requiring just two ingredients and no special equipment, but it's also a completely vegetarian cheese, as it doesn't require animal rennet.
If you've ever wondered
how to make paneer cheese that’s consistently soft yet firm, the secret lies in two fundamental components: the type of milk you choose and the acidic agent you use to curdle it. Mastering these choices is the key to unlocking perfectly textured homemade paneer every time.
The Foundation of Flavor: Choosing Your Milk Wisely
The quality and type of milk you use are paramount to the success and texture of your homemade paneer. Think of milk as the canvas for your cheese; a good canvas allows for a masterpiece.
Why Full-Fat Milk is Non-Negotiable:
The most crucial rule in paneer making is to use
whole milk or full-fat milk. This isn't just a recommendation; it's a necessity for achieving the desired yield and texture.
*
Yield: Full-fat milk contains more milk solids (fats and proteins) which directly translate to a higher quantity of paneer. Skimmed or low-fat milk will yield significantly less cheese.
*
Texture: The fat content in whole milk contributes to paneer's characteristic soft yet firm texture. It helps the curds bind together properly, creating a smooth, cohesive block that holds its shape when pressed. Without sufficient fat, the paneer tends to be dry, crumbly, and difficult to form into firm cubes. It might break apart easily when cooked or even during the pressing stage.
Whether your milk is pasteurized or unpasteurized, both can be used to make paneer. However, be cautious with ultra-pasteurized (UHT) milk. The intense heat treatment in UHT processing can sometimes denature milk proteins to such an extent that they become harder to curdle effectively, potentially resulting in a lower yield or a less cohesive curd. While it’s not impossible, it might require slightly more acid or patience.
Preparing the Milk:
Once you have your full-fat milk, the next step is heating it. Gently bring the milk to a temperature just below boiling, around 80°C (176°F). You'll see small bubbles forming around the edges, but avoid a rolling boil. Use a heavy-bottomed pot to prevent scorching and stir occasionally to ensure even heating and prevent a skin from forming on top. As soon as it reaches the target temperature, turn off the heat. This precise temperature is ideal for the proteins to coagulate efficiently when the acid is added.
The Curdling Catalyst: Selecting the Perfect Acid for Paneer
The second critical factor in crafting perfect paneer is the choice of acid. The acid causes the casein proteins in the milk to coagulate, separating into solid curds and watery whey. Different acids can influence the rate of curdling, the amount needed, and subtly, the final taste and texture of your paneer.
Here are the most common acidic agents used for making paneer, along with their characteristics:
1.
Lemon Juice or Lime Juice:
*
Characteristics: A natural, widely available, and popular choice. Freshly squeezed lemon or lime juice imparts a subtle, clean tang that usually disappears after rinsing the paneer. It consistently yields a wonderfully soft yet firm textured paneer.
*
Quantity: For 1 liter of whole milk, you'll typically need about 2 to 4 teaspoons (10-20 ml) of lemon or lime juice. The exact amount can vary slightly depending on the milk's quality and the juice's acidity.
*
Tip: Always add it gradually, one teaspoon at a time, stirring gently after each addition until the milk clearly separates into distinct curds and greenish whey. This controlled addition prevents over-acidification, which can make the paneer tough.
2.
Vinegar (White Vinegar or Apple Cider Vinegar):
*
Characteristics: Vinegar is highly effective and often curdles milk faster and more decisively than lemon juice. It also produces a firm yet soft textured paneer. White vinegar is usually preferred due to its neutral color and milder flavor profile compared to apple cider vinegar, which might leave a slight fruity undertone.
*
Quantity: For 1 liter of whole milk, roughly 2 to 3 teaspoons (10-15 ml) of white vinegar should suffice.
*
Tip: Like lemon juice, add vinegar slowly, one teaspoon at a time, stirring gently. A slight vinegary taste can sometimes linger if too much is used or if the curds aren't rinsed well.
3.
Citric Acid:
*
Characteristics: Often favored by commercial producers and experienced home cooks for its consistent results and potent acidity. Citric acid is a pure, anhydrous acid that leaves no residual flavor. It tends to produce a very firm and smooth paneer, making it excellent for frying.
*
Quantity: Because it's highly concentrated, less is required. For 1 liter of milk, start with about 1/4 to 1/2 teaspoon of citric acid powder dissolved in a couple of tablespoons of warm water.
*
Tip: Always dissolve citric acid powder in a small amount of warm water before adding it to the milk. This ensures even distribution and prevents clumps of acid from toughening isolated curds.
4.
Curd or Yogurt:
*
Characteristics: Using fresh, plain yogurt (curd) as an acid is an older, more traditional method. It provides a distinct advantage: the resulting paneer is often softer and more moist with a subtle tang, making it ideal for dishes where you want a melt-in-your-mouth texture.
*
Quantity: For 1 liter of milk, you might need about 3 to 4 tablespoons of fresh, plain yogurt.
*
Tip: The curdling process might be slightly slower compared to direct acids like lemon juice or vinegar. Ensure the yogurt is fresh and not too sour.
Regardless of your chosen acid, the key is the *gradual addition*. The goal is to add just enough acid to fully separate the milk into clear, greenish whey and solid white curds. Over-acidification can lead to tough, rubbery paneer and a lower yield.
Mastering the Technique: From Curds to Cubes
Once you've chosen your milk and acid, the actual process of making paneer is straightforward.
1.
Curdling: After heating your full-fat milk to 80°C (176°F) and turning off the heat, begin adding your chosen acid one teaspoon (or dissolved citric acid solution) at a time. Stir very gently after each addition. You'll observe the milk beginning to separate into solid, white curds and a translucent, pale green or yellowish liquid (whey). Continue adding acid until this separation is clear and complete.
2.
Resting: Let the curdled milk sit undisturbed for 5-10 minutes. This allows the curds to consolidate and settle, making them easier to strain.
3.
Straining: Line a colander with a clean muslin cloth, cheesecloth, or a fine cotton kitchen towel. Carefully pour the curdled milk into the lined colander. The whey will drain through, leaving the solid curds behind in the cloth. For a detailed, step-by-step guide on this process, you can refer to our article on
Homemade Paneer: Simple Steps for Fresh, Wholesome Indian Cheese.
4.
Rinsing (Optional but Recommended): If using lemon juice or vinegar, gently rinse the curds under cold running water for 30 seconds to a minute. This step removes any residual acidic taste, ensuring your paneer has a neutral flavor. If using citric acid or yogurt, this step is less critical.
5.
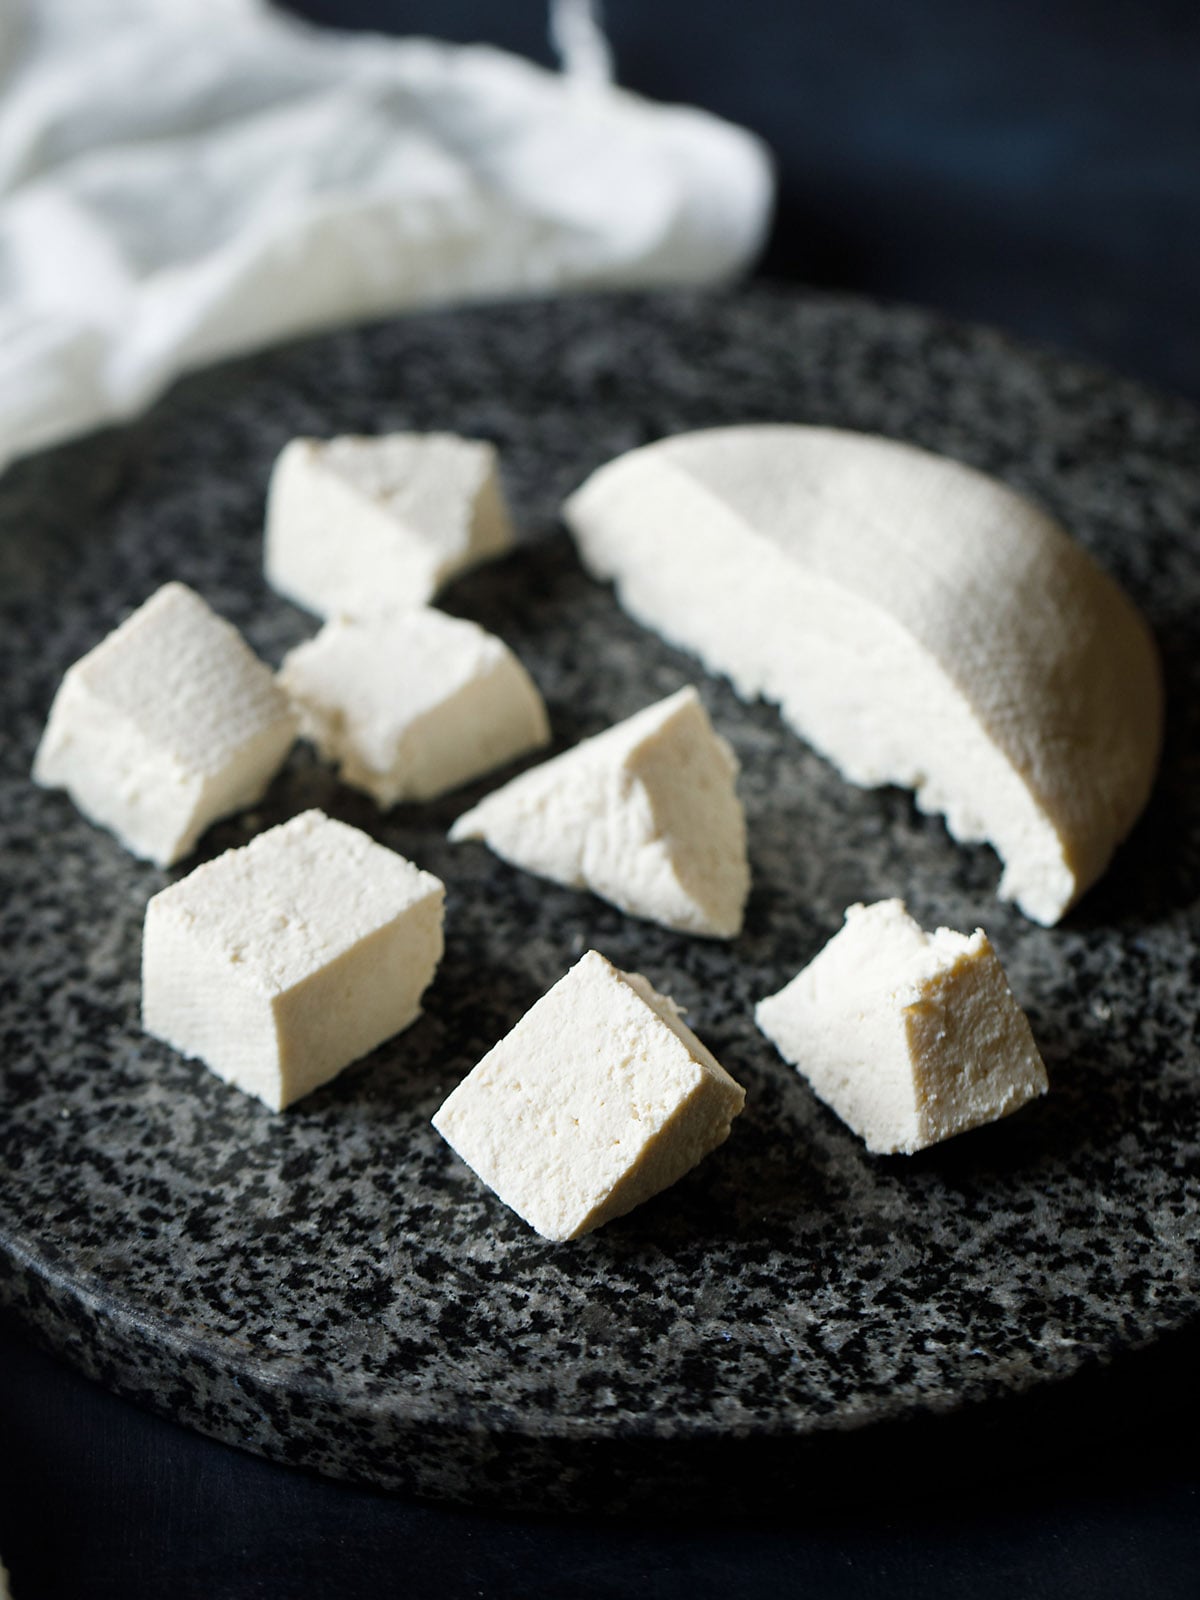
Pressing: Gather the corners of the cloth and twist to gently squeeze out excess whey. Then, shape the curds into a disc or block. Place the cloth-wrapped paneer on a flat surface (like a cutting board) and place a heavy object on top. This presses out more whey and helps the curds coalesce into a firm block. Pressing time dictates the firmness:
*
30 minutes to 1 hour: For softer, more crumbly paneer, ideal for crumbling into dishes or very gently pan-frying.
*
1.5 to 3 hours: For firm, sliceable cubes perfect for curries, grilling, or deep-frying.
*
3+ hours: For very firm paneer that can withstand rigorous cooking or slicing thin.
The byproduct, the greenish whey, is incredibly nutritious and should not be discarded! It's rich in protein and nutrients and can be used to knead dough for chapatis or bread, add to soups or curries for extra flavor, or even consumed as a healthy drink. For more insights into making this delicious vegetarian cheese without rennet, explore
Easy Vegetarian Paneer: Make Non-Melting Indian Cheese Without Rennet.
Troubleshooting Common Paneer Problems
Even with the best intentions, things can sometimes go awry. Here are some common issues and how to tackle them:
*
Milk Not Curdling:
*
Issue: The milk isn't hot enough, or not enough acid has been added.
*
Solution: Gently reheat the milk if it has cooled too much, then gradually add more acid. Ensure the acid is potent (e.g., fresh lemon juice).
*
Crumbly Paneer:
*
Issue: Often due to low-fat milk, over-acidification, or excessive pressing.
*
Solution: Ensure you're using full-fat milk. Next time, use just enough acid to curdle and reduce pressing time or weight.
*
Tough/Rubbery Paneer:
*
Issue: Too much acid, or the curds were cooked too long after curdling, or pressed for an excessive duration.
*
Solution: Add acid gradually and stop as soon as separation occurs. Don't let the curds sit in hot whey for too long before straining. Reduce pressing time.
*
Low Yield:
*
Issue: Primarily caused by using low-fat milk or incomplete curdling.
*
Solution: Always opt for full-fat milk. Ensure all milk solids have separated into curds.
Conclusion
Making your own paneer is a rewarding culinary endeavor that brings fresh, wholesome Indian cheese right to your kitchen. The journey from milk to firm, delectable cubes hinges on two key decisions: selecting the right full-fat milk and choosing an appropriate acidic agent. By understanding the nuances of each option – from the gentle tang of lemon juice to the reliable firmness of citric acid – and mastering the technique of gradual addition and careful pressing, you can consistently achieve paneer with the perfect soft yet firm texture. So, next time you're planning an Indian feast, don't hesitate to embark on the delightful process of crafting your own paneer. Your taste buds, and your wallet, will thank you!