Homemade Paneer: Simple Steps for Fresh, Wholesome Indian Cheese
Paneer, the quintessential Indian fresh cheese, is a beloved staple in countless South Asian dishes. From creamy curries like Palak Paneer to crispy appetizers such as Paneer Pakora, its mild flavour and firm, non-melting texture make it incredibly versatile. While readily available in many specialty stores, there's a unique satisfaction and superior taste that comes from making it yourself. If you've ever wondered how to make paneer cheese from scratch, you're in for a delightful surprise – it's far simpler than you might imagine, requiring just two basic ingredients and minimal equipment.
Unlike many other cheeses, paneer is an unripened, non-fermented variety that requires no rennet, making it inherently vegetarian. This ancient culinary art transforms humble milk into a wholesome block of protein-rich goodness, free from preservatives and artificial additives. Get ready to elevate your home cooking with the freshest, most delicious paneer you've ever tasted.
Why Make Paneer at Home? The Wholesome Choice
The decision to make paneer at home isn't just about convenience; it's a choice for superior quality and a deeper connection to your food. Here's why embracing the homemade paneer journey is so rewarding:
- Unmatched Freshness and Flavor: Store-bought paneer, while convenient, often pales in comparison to the delicate texture and fresh, milky flavour of homemade. You'll taste the difference immediately, especially when it's incorporated into your favourite dishes.
- Control Over Ingredients: When you make paneer yourself, you dictate what goes into it. This means no preservatives, no hidden additives, just pure milk and a natural acidic agent. This is especially important for those mindful of their diet or dealing with allergies.
- Cost-Effective: In many regions, buying a good quality block of paneer can be surprisingly expensive. Making it at home, especially if you buy milk in bulk, can significantly cut down on your grocery bill. You'll often find that the cost of the milk is the only real expenditure.
- Always Available: Ever been in the middle of preparing an Indian feast only to discover you're out of paneer? Making it at home ensures you always have access to this essential ingredient, even if your local supermarket doesn't stock it.
- Completely Vegetarian: As mentioned, homemade paneer is naturally free of rennet, an enzyme often derived from animal sources used in traditional cheesemaking. This makes it a perfect choice for Easy Vegetarian Paneer: Make Non-Melting Indian Cheese Without Rennet, aligning with ethical dietary choices.
- A Sense of Accomplishment: There's immense satisfaction in creating something delicious from scratch. The simple process of curdling milk and pressing it into a firm block is a culinary skill that's both practical and impressive.
Gathering Your Simple Ingredients and Equipment
One of the most appealing aspects of learning how to make paneer cheese is the minimal requirement for special tools or exotic ingredients. You likely have everything you need in your kitchen right now!
Essential Ingredients:
- Milk: This is the star of the show, and its quality directly impacts your paneer's yield and texture.
- Always use whole milk or full-fat milk. This is crucial! Low-fat, skimmed, or toned milk will result in a significantly lower yield and a crumbly, often unmanageable texture that struggles to set.
- Pasteurized or unpasteurized milk can be used.
- For every liter of milk (approximately 4 cups), you can expect about 150-200 grams of paneer, depending on the milk's fat content.
- Acidic Agent: This is what curdles the milk, separating the solids (curds) from the liquid (whey). The type of acid can subtly influence the paneer's final texture.
- Lemon Juice: A popular choice, yielding soft yet firm paneer. Start with 2-4 teaspoons per liter of milk.
- White Vinegar or Apple Cider Vinegar: Also produces a firm and soft texture, often curdling milk faster. Use about 2-3 teaspoons per liter.
- Citric Acid: Often used in a dissolved solution, it's very effective and yields excellent results. A small pinch (1/4 to 1/2 teaspoon) dissolved in a few tablespoons of water per liter of milk.
- Fresh Curd or Yogurt: For an exceptionally softer, more moist paneer, especially suitable for desserts like Rasgulla. You might need about 3-4 tablespoons of fresh, slightly sour yogurt per liter.
For a deeper dive into how different acids and milk types affect your paneer, explore Crafting Perfect Paneer: Best Milk & Acid for Soft, Firm Cubes.
Basic Equipment:
- Heavy-Bottomed Pot: To heat the milk evenly and prevent scorching.
- Large Spoon or Ladle: For stirring.
- Colander: To drain the whey.
- Muslin Cloth or Cheesecloth: Essential for straining the curds and pressing the paneer. A thin, clean cotton kitchen towel can also work in a pinch.
- A Heavy Weight: This could be a cast-iron pan, a heavy pot filled with water, or a stack of canned goods.
- Measuring Cups and Spoons: For accurate ingredient measurement.
- Large Bowl: To collect the whey as it drains.
Step-by-Step Guide: How to Make Paneer Cheese
Now that you have your ingredients and equipment ready, let's dive into the simple process of making fresh, wholesome paneer.
-
Heat the Milk
Pour your chosen whole milk into a heavy-bottomed pot. Place it over medium-high heat. Stir occasionally to prevent the milk from scorching at the bottom. Bring the milk to a temperature just below boiling – look for small bubbles forming around the edges of the pot, but avoid a rolling boil. An ideal temperature is around 80°C (176°F). Once it reaches this point, immediately turn off the heat. Allowing it to boil vigorously can make the paneer harder.
-
Curdle the Milk
Once the heat is off, begin adding your acidic agent. If using lemon juice or vinegar, add it slowly, about one teaspoon at a time, stirring gently after each addition. You'll notice the milk starting to separate almost immediately into solid white clumps (curds) and a greenish-yellow, watery liquid (whey). Continue adding the acid, stirring gently, until the milk has completely separated. You should see clear, distinct curds and transparent whey. If the milk isn't curdling, add another teaspoon of acid. The exact amount of acid needed can vary slightly depending on the milk's fat content and freshness.
-
Strain the Curds
Place a colander over a large bowl (to catch the nutritious whey) and line the colander with a clean muslin cloth or cheesecloth. Gently pour the curdled milk into the lined colander. The solids (paneer curds) will remain in the cloth, while the whey will drain into the bowl below. Do not squeeze the curds too forcefully at this stage, as you might lose some of the paneer.
Pro Tip: Don't discard the whey! This greenish liquid is packed with protein and nutrients. It can be used in baking (replacing water in dough), for cooking rice, in soups, or even as a base for smoothies. It adds a subtle tang and boosts nutritional value.
-
Rinse the Curds (Recommended)
Gather the edges of the cheesecloth to form a pouch around the curds. Gently rinse the curds under cold running water for a minute or two. This step is crucial, especially if you used lemon juice or vinegar, as it washes away any residual acidic taste, ensuring your paneer is deliciously mild. Rinsing also helps to cool the curds slightly, aiding in better pressing and a firmer final product.
-
Press the Paneer
Twist the cheesecloth to squeeze out as much excess water as possible from the curds. Be firm but gentle. Once you've squeezed out a good amount of liquid, flatten the cheesecloth-wrapped curds into a disc or square shape on a clean, flat surface (like a cutting board). Place a plate on top of the wrapped paneer, and then place your heavy weight on top of the plate. The heavier the weight and the longer the pressing time, the firmer your paneer will be.
- For softer paneer (good for crumbling or some dessert uses): Press for 30-45 minutes.
- For firm paneer (ideal for curries, frying, or grilling): Press for 1.5-2 hours.
You can even leave it in the fridge to press overnight for extra firm paneer.
-
Chill and Cut
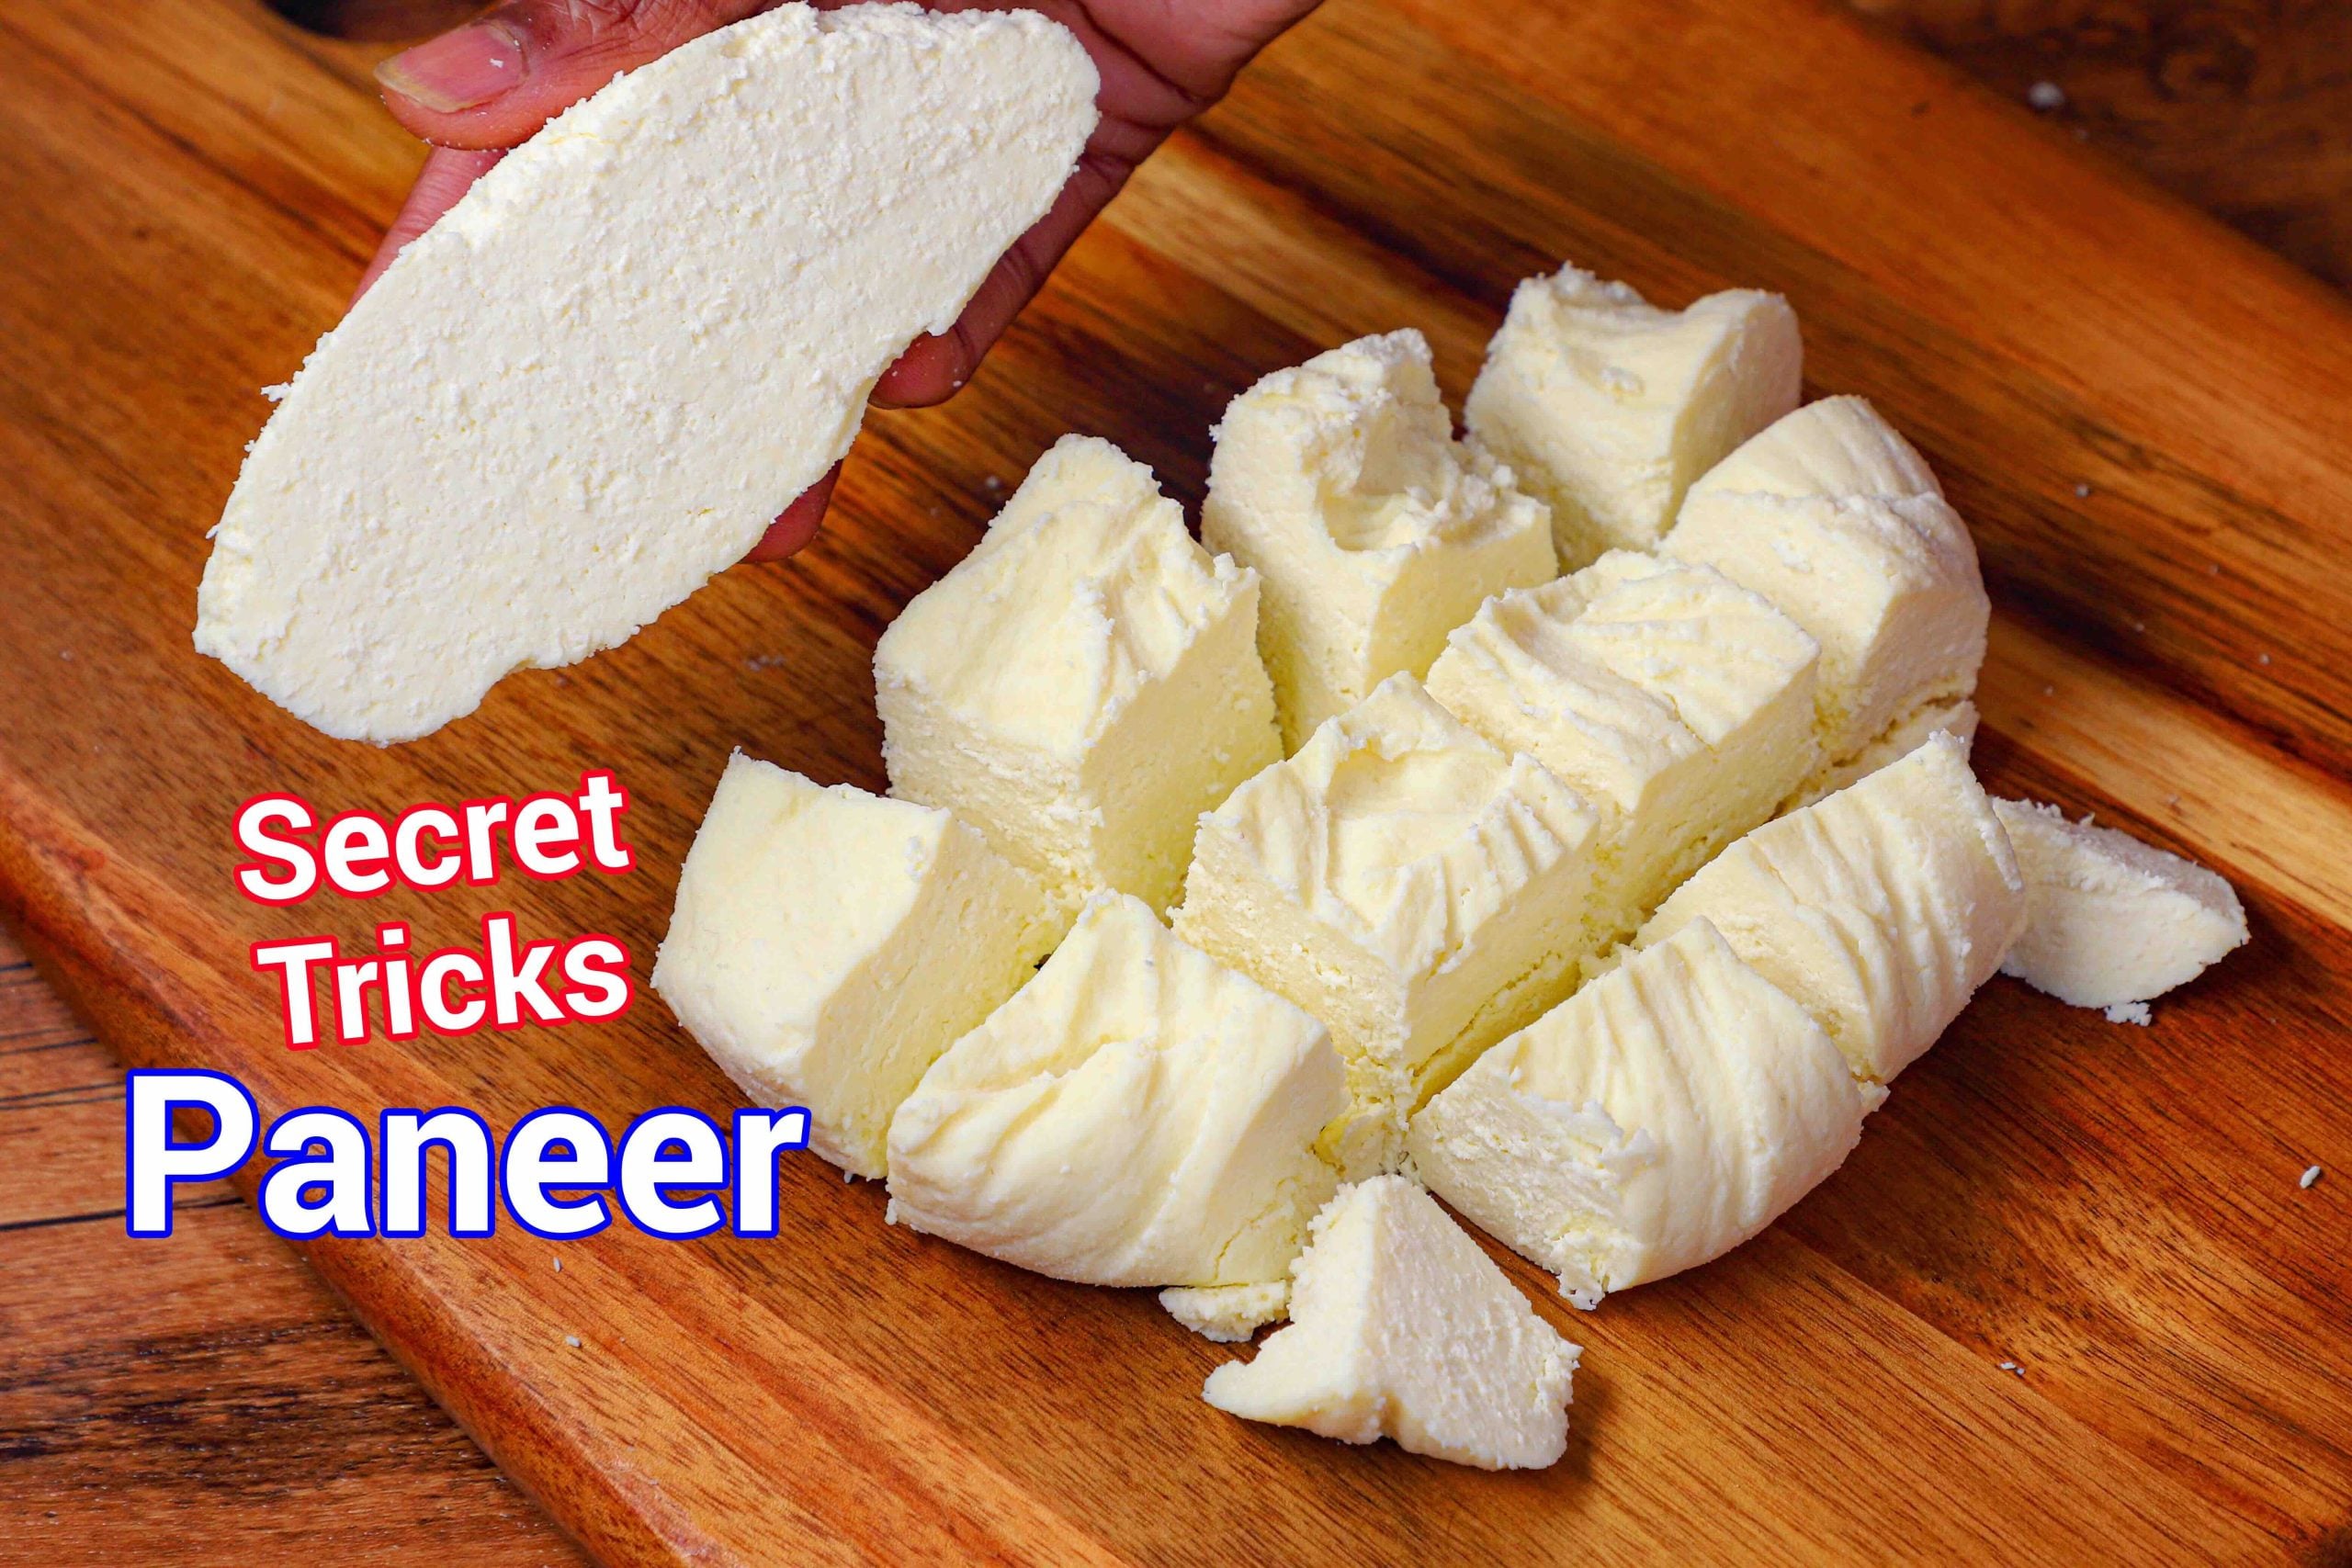
Once pressed to your desired firmness, unwrap your beautiful block of homemade paneer. It will be a solid, pristine white block. For best results and easier cutting, place the paneer in an airtight container and refrigerate it for at least 30 minutes before cutting. This helps it firm up even more. Once chilled, cut it into cubes, slices, or crumble it as required for your recipe.
Troubleshooting Common Paneer Making Issues:
- Crumbly Paneer: Often a result of using low-fat milk, not pressing long enough, or using too much acid too quickly.
- Hard/Rubbery Paneer: Usually due to over-pressing, boiling the milk too vigorously, or adding too much acid that cooks the curds excessively.
- Sour Taste: Insufficient rinsing after curdling. Make sure to rinse thoroughly with cold water.
- Milk Not Curdling: The milk wasn't hot enough, or you haven't added enough acidic agent. Gradually add more acid.
Creative Uses for Your Homemade Paneer
With your fresh block of homemade paneer, the culinary possibilities are endless! Beyond the classic Indian curries like Mutter Paneer and Saag Paneer, consider these delicious applications:
- Grilling and Skewers: Marinate paneer cubes in yogurt and spices, then grill or pan-fry them for a quick, flavourful appetizer or addition to salads.
- Scrambles: Crumble paneer and sauté with onions, tomatoes, and spices for a delightful "Paneer Bhurji," perfect for breakfast or a light meal.
- Snacks: Dip paneer cubes in a seasoned chickpea flour batter and deep-fry for homemade Paneer Pakoras, or simply pan-fry with a pinch of salt and chili powder.
- Salads: Add cubed or crumbled paneer to green salads for a protein boost and creamy texture.
- Desserts: While often requiring a specific soft paneer (chhena), homemade paneer is the foundation for traditional Indian sweets like Rasgulla and Sandesh.
Storing Your Freshly Made Paneer
To keep your homemade paneer fresh for longer, store it properly:
- Refrigeration: Place the paneer in an airtight container and submerge it completely in fresh, cold water. Change the water daily. This method keeps the paneer fresh and soft for up to 5-7 days in the refrigerator.
- Freezing: For longer storage, you can freeze paneer. Wrap it tightly in cling film or place it in a freezer-safe bag. It can last for up to 2-3 months. Thaw it in the refrigerator overnight before use. Freezing can sometimes alter the texture slightly, making it a bit more crumbly after thawing, but it's still perfectly usable in curries.
Making your own paneer is a rewarding culinary adventure that brings freshness, flavour, and a touch of authenticity to your kitchen. It's a simple process that demystifies a staple of Indian cuisine, empowering you to create delicious, wholesome dishes from scratch. So, gather your ingredients, follow these easy steps, and discover the joy of homemade paneer today!
