Unlock the Secrets of Easy Vegetarian Paneer at Home
Imagine a fresh, wholesome, and delightfully firm cheese that never melts, perfect for soaking up the rich flavors of your favorite curries or grilling to perfection. That's paneer, the beloved Indian cheese, and contrary to popular belief, mastering how to make paneer cheese at home is surprisingly simple. Forget scouring specialty stores or worrying about additives; with just a few basic ingredients and a little patience, you can create your own batch of non-melting Indian cheese that's not only fresher and more flavorful but also completely vegetarian, made without the use of rennet.
Paneer has been a staple in Indian kitchens for centuries, celebrated for its unique texture and mild, creamy flavor that makes it incredibly versatile. From the vibrant green of Palak Paneer to the rich red of Matar Paneer, it forms the backbone of countless delectable dishes. Its appeal extends beyond its culinary versatility; homemade paneer offers a purity and freshness that store-bought versions often lack, and it’s remarkably more cost-effective. If you've ever felt intimidated by cheesemaking, prepare to have your mind changed. Making paneer is an accessible journey into the world of fresh cheese, requiring no special equipment, just a pot, some milk, an acid, and a bit of muslin cloth.
The Allure of Homemade Paneer: Why Bother?
The decision to make your own paneer goes beyond just convenience; it's about embracing freshness, flavor, and control. When you learn how to make paneer cheese from scratch, you gain complete command over the ingredients, ensuring there are no preservatives, artificial thickeners, or hidden extras. This results in a product that tastes purer and offers a superior texture, whether you prefer it soft and crumbly or firm and robust for cubing.
Beyond purity, the economic advantage is significant. Good quality store-bought paneer can be expensive, especially if you use it frequently. Making it yourself drastically cuts down on costs, allowing you to enjoy this versatile cheese more often without breaking the bank. Furthermore, the satisfaction of creating a staple ingredient from simple components in your own kitchen is incredibly rewarding. It’s an empowering culinary skill that connects you to the rich traditions of Indian cooking, allowing you to appreciate the subtle nuances that a freshly made product brings to a dish.
Another crucial benefit, particularly for those with dietary considerations, is the absolute certainty that your homemade paneer is genuinely vegetarian. Traditional cheesemaking often involves rennet, an enzyme derived from animal sources. Paneer, however, traditionally uses food-grade acids to curdle milk, making it inherently vegetarian-friendly. This simple fact opens up a world of culinary possibilities for vegetarians and anyone seeking delicious, plant-based protein options.
Essential Ingredients & Equipment: Simplicity at Its Best
One of the most appealing aspects of making paneer is the minimal requirement for specialized tools or exotic ingredients. Chances are, you already have everything you need in your kitchen.
- Milk: This is the star of the show. For the best yield and texture, always use whole milk or full-fat milk. Whether it's pasteurized or unpasteurized doesn't matter as much as the fat content. Avoid low-fat, toned, or skimmed milk at all costs. These varieties often result in a significantly lower yield of paneer, and the texture can be crumbly, making it difficult for the cheese to set into firm cubes. The fat in whole milk is crucial for forming rich, tender curds that press into a beautiful block.
- Acidic Ingredient: This is your curdling agent, and you have several excellent options, each offering slightly different characteristics to your final paneer.
- Lemon Juice or Lime Juice: A popular choice that typically yields a soft yet firm texture. For approximately one liter of whole milk, you'll need about 2 to 4 teaspoons, depending on the milk's quality and fat content. It imparts a subtle freshness.
- Vinegar: White vinegar or apple cider vinegar are both effective. Vinegar tends to curdle milk faster and quicker, often resulting in a firm and soft texture. Around 2 to 3 teaspoons for a liter of milk is a good starting point.
- Citric Acid: Often available in powder form, a pinch of citric acid dissolved in a little water is a highly efficient curdling agent. It offers precise control and often results in very consistent paneer.
- Curd or Yogurt (Fresh): Using fresh, plain curd or yogurt can produce a softer, more moist paneer, which some prefer for certain dishes. You might need about 3 to 4 tablespoons per liter of milk. This method adds a very subtle tang and richness.
- Equipment: You'll need a large, heavy-bottomed pot to prevent scorching the milk, a long-handled spoon for stirring, a colander, and some clean muslin cloth or cheesecloth for straining. A flat plate or cutting board and a heavy object (like a few cans of food or a mortar and pestle) will serve as your pressing mechanism.
Step-by-Step Guide: How to Make Paneer Cheese
Now that you have your ingredients and tools ready, let's walk through the simple process of making fresh paneer.
Step 1: Heating the Milk to Perfection
Pour your whole milk into the heavy-bottomed pot. Place it over medium heat, stirring occasionally to prevent it from sticking to the bottom and scorching. Bring the milk to a temperature just below boiling, around 80°C (176°F). You'll notice small bubbles forming around the edges, and the milk will begin to rise slightly. Once it reaches this point, immediately turn off the heat. Avoid a vigorous boil, as this can affect the texture of your paneer.
Step 2: The Magic of Curdling
Once the heat is off, it's time to add your chosen acidic agent. Begin by adding about one teaspoon of lemon juice (or your chosen acid) at a time. Stir the milk gently after each addition. You'll start to see a transformation almost immediately: the milk will begin to separate into solid, white curds and a clear, greenish-yellow liquid, which is the whey. Continue adding the acid, one teaspoon at a time, stirring gently, until the milk fully separates. You're looking for a clear distinction between the curds and the whey. If the whey still appears milky or cloudy, add a little more acid until it's predominantly translucent. Resist the urge to add too much acid too quickly, as this can result in tough paneer.
Step 3: Straining the Curds
Line a colander with a clean muslin cloth or several layers of cheesecloth. Carefully place the colander in your sink or over another large bowl to catch the whey. Slowly and gently pour the curdled milk into the lined colander. The solid curds will collect in the cloth, while the whey will drain through. Do not discard the whey just yet; it's packed with nutrients and can be used in baking, making chapati dough, or even consumed as a healthy drink.
Step 4: Rinsing (Optional but Recommended)
Once most of the whey has drained, you can gently rinse the curds under cold running water for a minute or two. This step is optional but highly recommended, especially if you used lemon juice or vinegar, as it helps remove any residual acidic taste from the paneer, leaving it with a clean, mild flavor.
Step 5: Pressing for Firmness
Gather the edges of the muslin cloth, bringing the curds together into a tight ball. Gently squeeze out any remaining excess water. Be firm but careful not to break up the curds too much. Now, twist the cloth to secure the curds. Place the bundled curds on a flat surface (like a plate or cutting board). Place another flat plate on top, and then weigh it down with a heavy object. The amount of weight and the pressing time will determine the firmness of your paneer. For a soft, crumbly paneer, press for about 20-30 minutes. For firm, sliceable paneer, press for 1 to 2 hours. If you desire very firm paneer for grilling or frying, you can press it for up to 3-4 hours, or even overnight in the refrigerator.
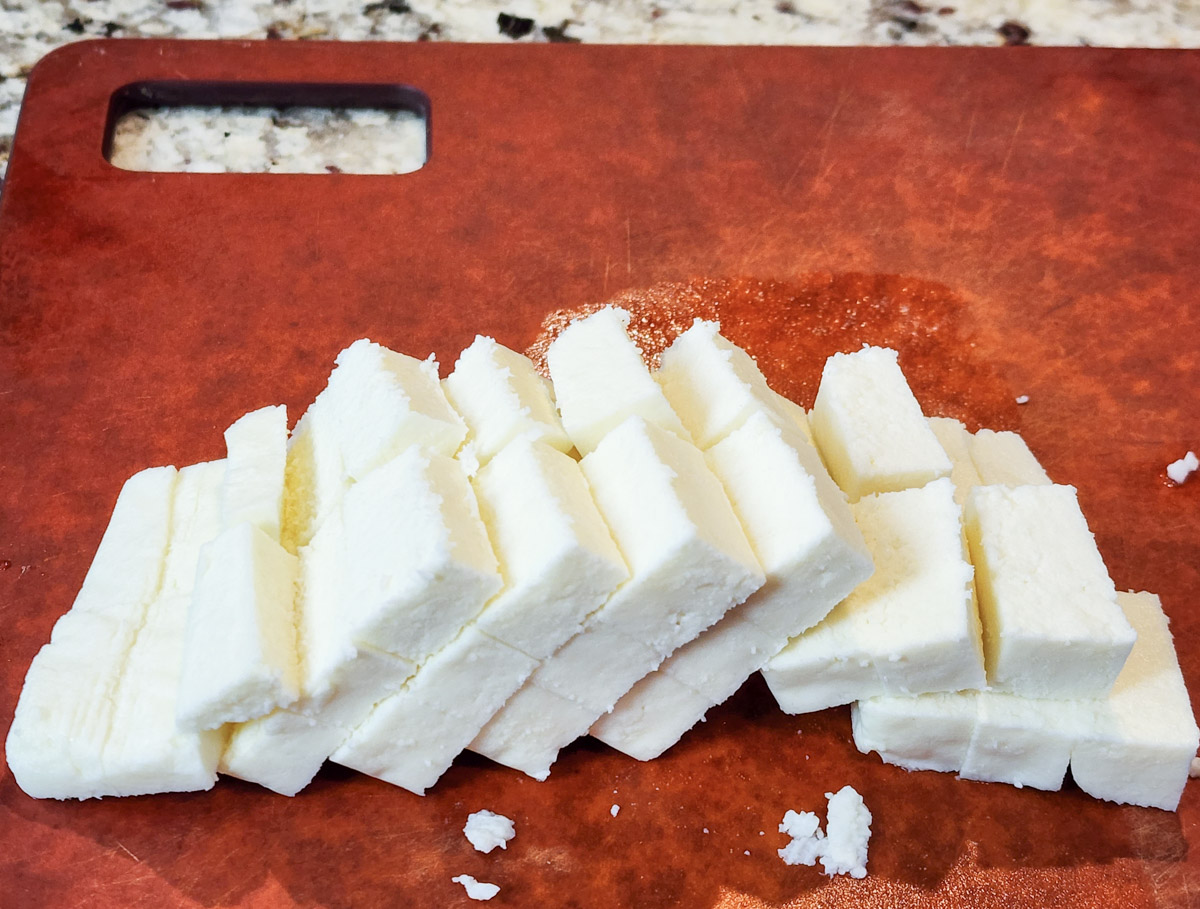
Step 6: Chill, Slice, and Enjoy!
Once pressed to your desired firmness, unwrap the paneer from the muslin cloth. You'll have a beautiful, solid block of fresh homemade paneer! For best results and to help it firm up further for easy slicing, transfer the paneer to an airtight container and refrigerate it for at least 30 minutes before cutting. Slice it into cubes, triangles, or any shape your recipe calls for. Homemade paneer can be stored in the refrigerator in an airtight container for up to 3-4 days, or submerged in fresh water (changing the water daily) for up to 5-6 days. It also freezes well for longer storage.
Tips for Perfect Paneer Every Time
- Quality Milk Matters: We cannot stress this enough – always use full-fat or whole milk. It's the single most important factor for good yield and texture.
- Gradual Acid Addition: Patience is key during the curdling stage. Adding acid slowly and stirring gently ensures optimal separation and prevents a tough, rubbery texture.
- Don't Over-Press (Unless Intended): Be mindful of your pressing time. Over-pressing can make your paneer dry and crumbly, while under-pressing will result in a soft, difficult-to-handle cheese.
- Embrace the Whey: The greenish liquid you drain is liquid gold! It's rich in protein and nutrients. Use it in soups, stews, knead chapati dough with it, or even add it to smoothies. It adds flavor and nutrition.
- Experiment with Acids: Don't be afraid to try different acids to see which one gives you the texture you prefer. Lemon juice offers a classic result, while vinegar can be quicker, and yogurt offers a subtle tang.
- Troubleshooting Crumbly Paneer: If your paneer is consistently crumbly, it might be due to low-fat milk, over-acidification, or over-pressing. Adjust these variables for a firmer block.
Unleashing Your Homemade Paneer
With your fresh block of vegetarian paneer ready, a world of culinary possibilities opens up. Its mild flavor makes it an incredibly versatile canvas, absorbing the spices and aromatics of any dish it graces. Cube it and add it to classic Indian curries like Palak Paneer (spinach and cheese), Matar Paneer (peas and cheese), or Shahi Paneer (royal paneer in a creamy gravy). It's also fantastic when marinated and grilled, skewered in kebabs, or pan-fried until golden brown. For a delightful snack, deep-fry small pieces to make crispy paneer pakoras, or simply enjoy slices on their own, perhaps with a sprinkle of chaat masala. The fact that it retains its shape beautifully, even under high heat, is what makes this non-melting Indian cheese so unique and cherished.
Making your own paneer is more than just a recipe; it's a rewarding experience that yields a versatile, fresh, and wholesome ingredient. Once you've tasted the difference of homemade paneer, you might find yourself saying goodbye to store-bought versions forever. It's easy, cost-effective, and guarantees a delicious, vegetarian product every time. So, gather your ingredients and embark on this delightful journey – your taste buds will thank you!
